
The following post is an updated version of WWW's cult classic, "Gingerbread Houses w/WWW," now updated with a GF option for those who seek gluten-freedom. Take it away, Mom!
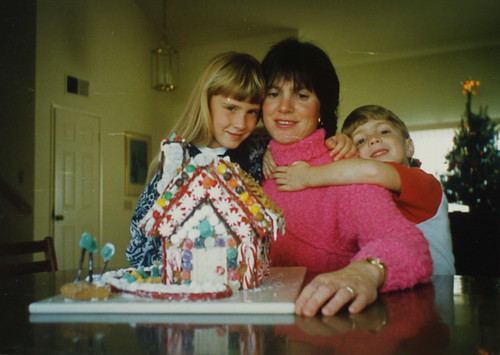
With Rebecca and David, 1988
It's no wonder that when we first had children I announced to Larry one Christmas that more than anything else, I wanted to make a gingerbread house totally from scratch. At this same time, I subscribed to the Time/Life books, “The Good Cook” which gave me a how-to cookbook each month on a different topic. One month I unwrapped my package to find the book titled “Cookies and Crackers.” When I opened the pages, I was thrilled to discover a step-by-step guide on how to build and make the gingerbread for a house, although I must admit I was disappointed at the house, itself. It was a plain brown house with an iced roof dotted with almonds, a traditional house—not the fantasy house of my dreams. I used the recipe for gingerbread but designed my own house and bought bags and bags of colorful candy. We decorated it together on Christmas Eve and then ate it on Christmas. That was in 1988 and as a family we've been making a gingerbread house every year since.
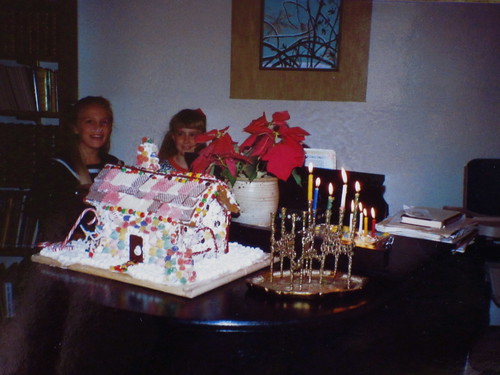
Our first gingerbread house + Rebecca with with her cousin, Erica.
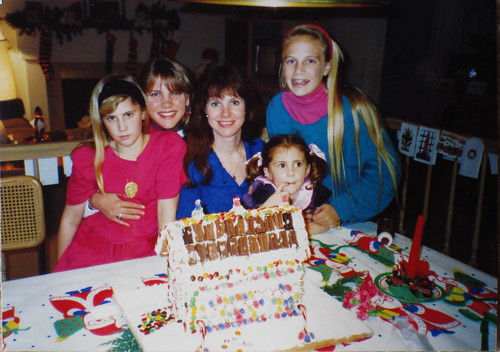
Gingerbread house circa '91. Rebecca was dealing with a bit of pre-teen angst at the time.
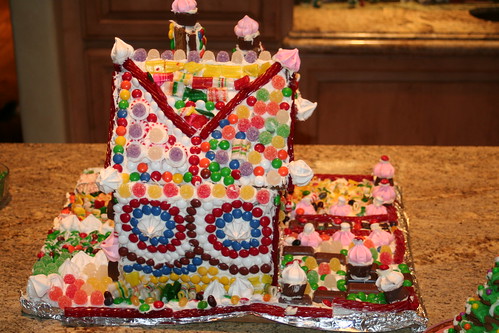
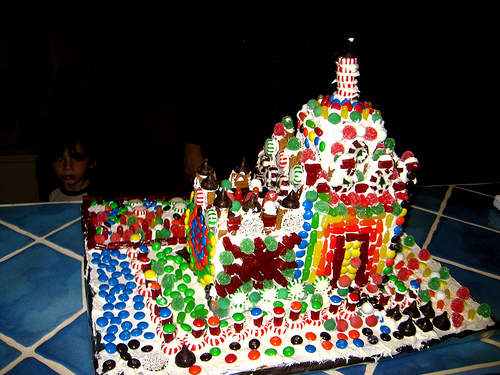
...After dinner on Christmas, our gingerbread house stakes its claim as the centerpiece of the table. We turn out the lights, carry out our flaming brandied plum pudding, sing We Wish You a Merry Christmas as the blue flames blaze around the pudding, and when everyone is seated with plates full of my sister’s luscious pies and Christmas hats donning our heads, we start breaking off pieces of the house, just like Hansel and Gretel.
***
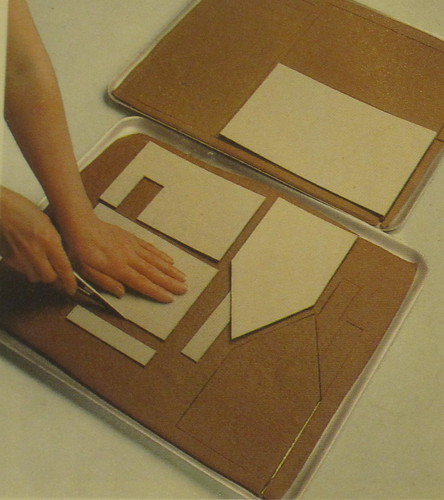
The first thing you want to do is make the templates for the house. The gingerbread fits into two large jellyroll pans (either 12x17x2 or 15x18x2 inches). My pans are the standard 12x17x2 so I have included the template pattern for a very simple house made in them, but you can make it any way you want. (One year Rachel and I made a gingerbread mission for her California Mission Project.) Just make sure you plan your design ahead of time and cut out the pattern pieces before the gingerbread goes into the oven. The gingerbread MUST be cut when it is warm or else it will crack.
Here is the template for the house. You will need to use the patterns TWICE using both pans:
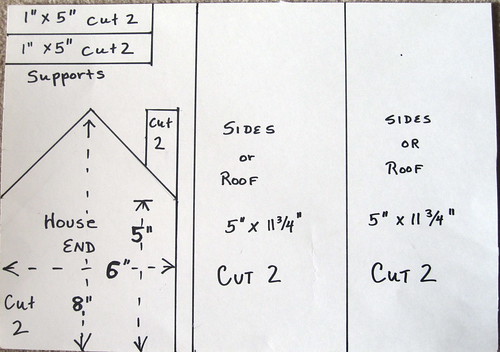
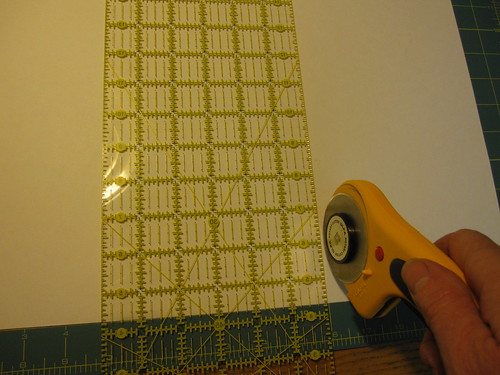
If you want your roof to overhang a little, then cut the sides two inches shorter than the roof. I made mine on thin poster board, but if you can find big graph paper, that would be easier. Once you make the templates, you can use them year after year, so it’s worth the little bit of work the first year since from then on, it will be easy. I used my rotary mat and Omnigrid to make the templates for this post, but this is the first time I have been quite so fancy.
We make the gingerbread in the afternoon, cut it while it is still warm using the templates, and let cool on wire racks. Then, when it is cool, David and I assemble the house with royal icing. The royal icing dries hard as a rock so you don’t have to worry about the house collapsing. That evening after dinner, we decorate it...
For this post, I made half the recipe which I used to cut the shapes for a “cottage” so Archer and Fable can decorate their very own this year. I froze the cooled shapes and will defrost them on the day we make our larger house. (If you do this, make sure you defrost COMPLETELY before you unwrap them so they don’t get soggy).
Gingerbread House (for GF recipe scroll down!)
Templates for gingerbread house
Royal Icing (see recipe below)
3 jars of vanilla frosting
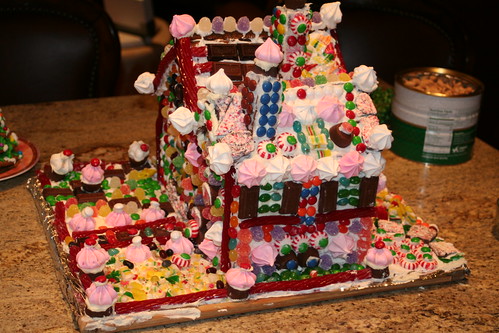
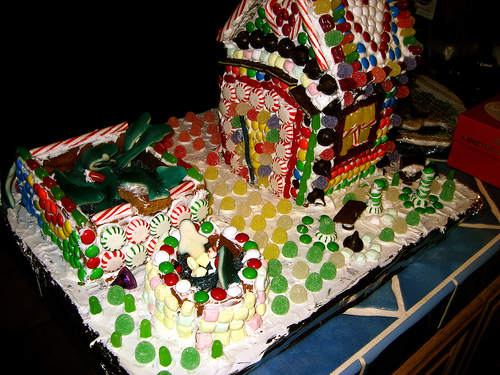
All sorts of candy, the more types the more fun. Look at photos for ideas
2 2/3 cup firmly packed light brown sugar
1 1/3 cup molasses
4 tsps. ground cinnamon
4 tsps. ground ginger
½ teaspoon ground cloves
3 sticks butter
6 tsps. Baking powder
12 cups flour (it helps to have someone counting while you measure since it is really easy to lose track of what cup you are on!)
4 eggs, lightly beaten
1. MAKE TEMPLATES FOR THE HOUSE AND CUT THEM OUT.
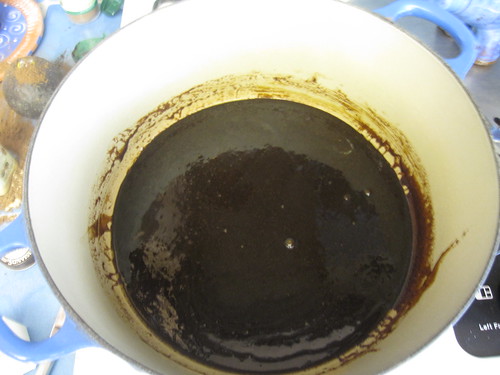
2. Preheat oven to 350. In a heavy-based pan over low heat, dissolve the sugar with the molasses, spices, and butter. Slowly and carefully bring the mixture to a boil, cool it to room temperature, then mix in the baking powder.
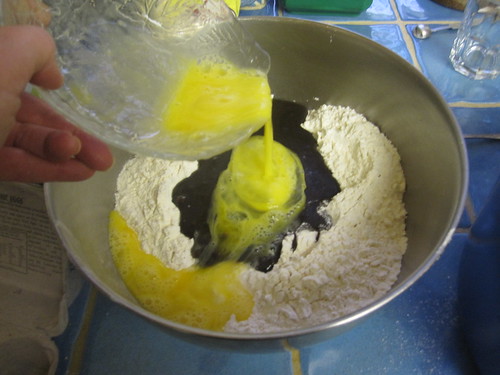
3. Place the flour in a LARGE bowl with a pinch of salt and make a well in the center. Pour in the cooled syrup mixture and the egg, and stir from the center to incorporate the flour.
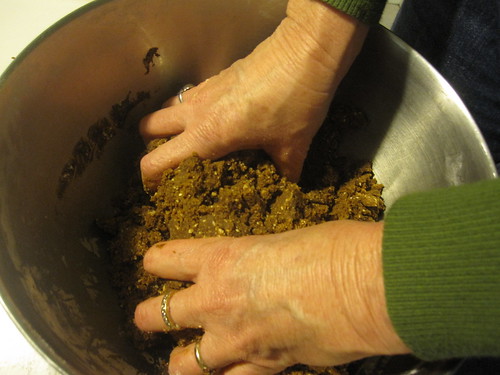
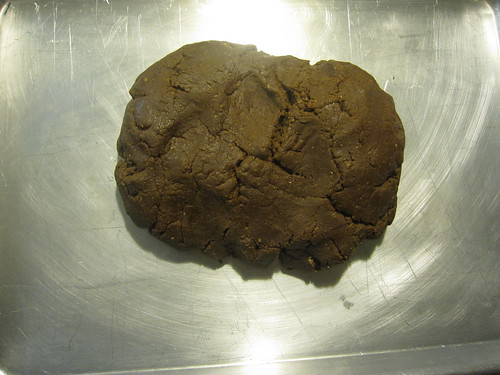
4. Knead the dough in the bowl until smooth and flour is completely incorporated:
It should look shiny and kind of like fudge:
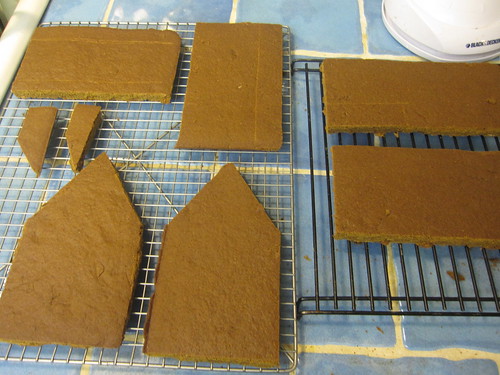
6. Bake at 350 for 25 minutes. Lay templates on the warm gingerbread and cut around them with a knife.
7. Let cool on wire racks:
Assembling the house:
1. Make royal icing:
2 cups powdered sugar
1 egg white
¾ teaspoon strained fresh lemon juice
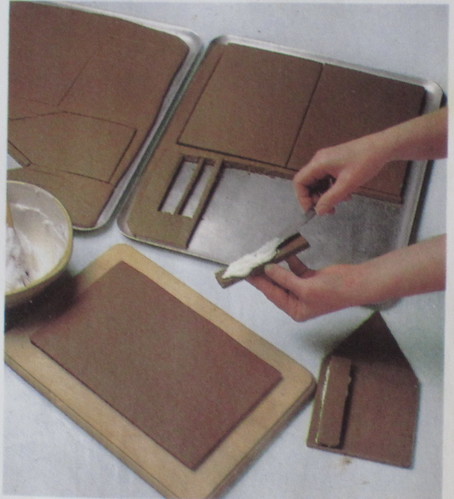
Cover a large board with aluminum foil. Lay one end wall on the work surface. Spread a wall support with icing.
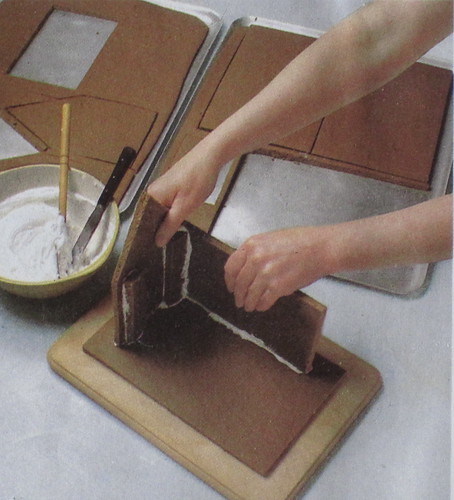
3. Stand one end up and attach one of the walls, generously using the icing to attach (you can ice the bottom, too, to help hold it).
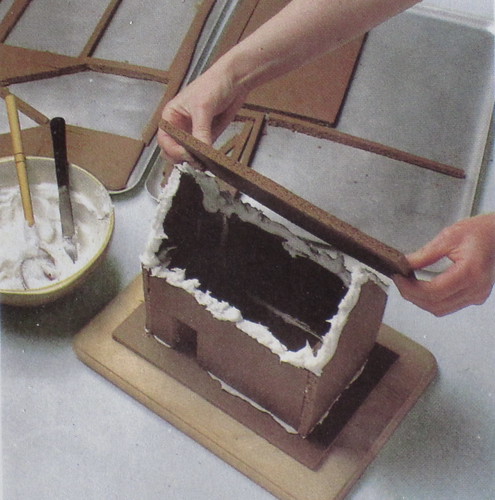
4. Spread the top edges of the walls and the pitched roof with icing. Gently press one roof piece into position, holding it until it doesn’t slip.
6. Attach the two chimney pieces together using the royal icing.
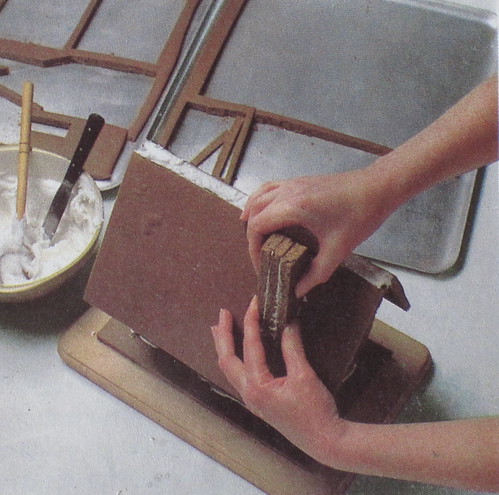
7. Let house completely harden before decorating.
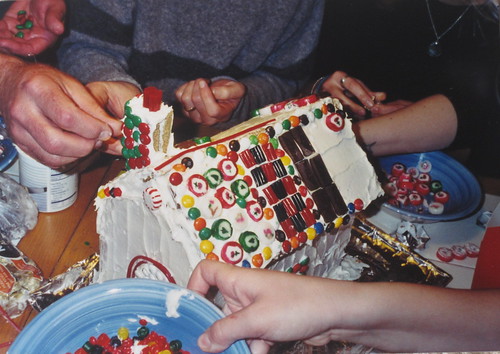
To decorate, put candies in bowls so everyone can share. Put house in center of the table. Make sure everyone gets his or her own spot to decorate (a side, a wall, a roof, etc). Frost house with frosting and add candy!
We frost the ground, too, and decorate the “yard” with paths, trees, snowmen and sometimes coconut for snow. Use your imagination….anything goes!!
***
GLUTEN FREE UPDATE: I have made several iterations of gluten free gingerbread houses over the years. Some were more successful than others. Last year, I made the one on the Pamela’s flour website and although it takes some time because of the twice baking, it holds together beautifully. I double the recipe because I like a big house. (You can also just substitute my original recipe with Pamela’s Artisan Flour and bake a little longer to make sure it is hardened.)
· 2 bags (7 cups) Pamela's Bread Mix (no yeast needed)
· 1 1/2 cup brown sugar, packed
· 1 1/2 tsp baking soda
· 1 1/2 cup molasses
· 3 sticks butter, chilled
· 2 TBSP ground cinnamon
· 2 TBSP ground ginger
· 1 tsp ground cloves
· 4 TBSP milk, milk substitute or water
DIRECTIONS:
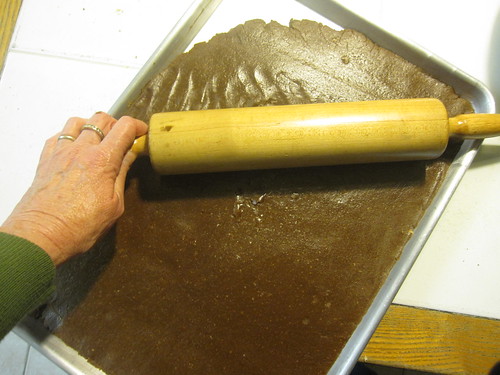
Preheat oven to 350°. Use HEAVY DUTY STAND MIXER and paddle. In mixing bowl combine all dry ingredients. Add chilled butter (cut into 12 pieces), molasses and milk, and mix until dough comes together. Divide dough and roll to 1/8 to ¼ inch thick between two layers of parchment paper. Freeze for 15 minutes.
Print out and cut out Gingerbread House template pieces. Remove top sheet of parchment from frozen dough and cut out one house piece at a time. Spray paper template with non-stick oil before placing on cookie dough. Cut around template, then remove paper pattern. Leave the cut out cookie on parchment and pull away excess dough. Trim excess paper around cookie to about 1-inch, then transfer parchment and cookie to baking sheet. Multiple pieces can fit on one baking sheet.
Bake cookies twice to dry enough for building a house. Bake at 350° for 10 minutes. Then turn off oven leaving cookies inside with door shut. Leave them to cool completely in the heat of the oven (3 to 4 hours). When cool, remove cookies from oven, preheat oven again to 350°, then bake for an another 10 minutes. Turn off oven with cookies inside with door shut, leave until cool. Cookies need to be very dry to hold up when building a Gingerbread House. Assemble house as described in recipe above.
Love,
WWW
The how-to-assemble photos via Time/Life "The Good Cook"

0 comments:
Post a Comment