The following post was written by my mom, WWW. Thanks, mom!
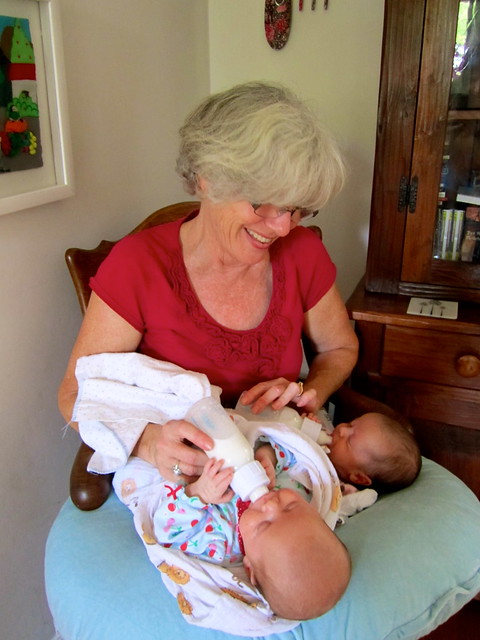
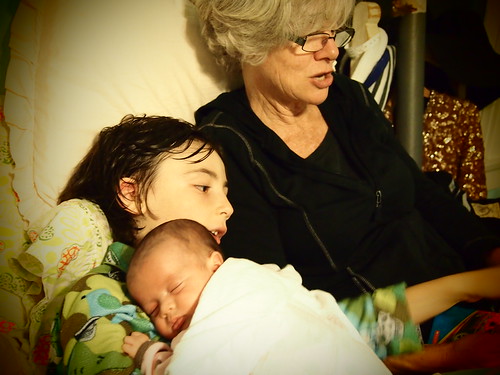
I can’t believe that I have been here for six weeks serving as Rebecca's “au-parent” in Babyland. The time has flown by and I suppose that is because I am so busy with so many tasks—cooking, cleaning, feeding babies, washing bottles, driving kids back and forth to school, helping with homework, and loving every minute of it. I am totally in the moment, doing the task at hand, and loving every minute of it. Did I say that I’m loving every minute of it?

Years ago when my kids were little, I read a book about the Amish telling of their philosophy to do every task, no matter how simple, with love. At that stage in my life, it was hard to appreciate the menial tasks and to be in the present moment with them. There were always so many things to think about, so many worries about the future, about getting everything done. Time was the enemy and I felt like I was in a constant battle with it. While I was doing the wash, my mind was racing into the future, thinking about what I was going to do next. I tried to enjoy each moment with each task but always failed.
It is interesting that a couple of days after Bo and Rev were born, I noticed The Prophet, lying on Rebecca’s desk, and opened it to this quote:
"And what is it to work with love?
It is to weave the cloth with threads drawn from your heart, even as if your beloved were to dwell in that house. It is to sow seeds with tenderness and reap the harvest with joy, even as if your beloved were to eat the fruit. It is to charge all things you fashion with a breath of your own spirit, and to know that all the blessed dead are standing about you and watching...
Work is love made visible."
Of course I miss Larry, who comes to visit us on weekends, and at some level my life, but right now, being here feels so “right."

...And although I thought I would be home by now, at this moment, I am not feeling even slightly ready to pack up and move back to San Diego because they still need me here. Yes I am tired at the end of the day, but it isn’t from working. It is, as Kahlil Gibran so wisely alluded, from loving.
When I first arrived here a month ago, I had to get used to cooking in Rebecca’s kitchen without my tools. Rebecca has never really stocked her kitchen with pots and pans, baking dishes or, for that matter, dishes in general. She never had a wedding or wedding shower and on top of that is kind of a “cooking minimalist” so her supply of all things cooking is a little bit slim and hodge-podge. Luckily, as I mentioned last week, my favorite pot is here by sheer accident. I love my Le Creuset pot and as you probably know by now from all of my pictures, I cook everything in it. These pots are expensive but well worth the investment. (I got mine at Home Goods and it was about half the price of those found in conventional stores). They cook evenly, especially on a gas stove, and can also go in the oven. Le Creuset pots are made from cast iron covered with enamel so they are heavy, but I store mine on the stove so I don’t have to be lifting it constantly in and out of the cupboard. I use it every day, anyway, and the lovely blue exterior matches my kitchen. (As well as Rebecca’s!)
The first day I was here, I perused all the cupboards so I would not only know where to find everything but also to see if I needed to buy anything special for my cooking needs. And that’s when I found my new culinary crush—the cast iron skillet. Rebecca’s brother David and his girlfriend Alyssa (who are huge fans of cast iron skillets) gave it to Bec for Christmas. I have never owned a cast iron skillet nor have I ever cooked in one. I cannot believe that I have been cooking in everything BUT cast iron all these years. Now that I have experienced the Holy Grail of cooking pans, I am smitten. In fact, one month later, I am now so addicted that I am going to buy one immediately upon returning home.
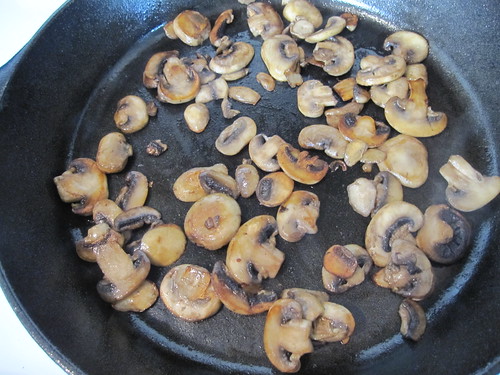
I fell in love with Rebecca’s “iron chef” over marinara sauce. I always brown my mushrooms first. But for the last 35 years, they have never turned BROWN. In fact, cooking mushrooms has been a constant source of disappointment. When cooked they get soft and turn sort of gray. In an iron skillet, however, mushrooms actually BROWN as in get CRISPY and FLAVORFUL and DELICIOUS and PERFECT.
Always put oil or butter in a cold skillet and then heat completely before adding anything to the pan. This will keep the food from sticking. Over time, the pan will take on a shiny patina.
Never use soap when cleaning the pan. Just rinse in hot water and use a non-metal scrubber or stiff brush to clean out any food. If you do use soap, make sure you re-season the pan afterwards. Here is more information on how to care for cast iron.
The wonderful thing about cast iron pans is that you can use them on the stove or in the oven. If you want to buy a great pot that cooks as well as my Le Creuset but don’t want to spend a lot of money, for $40 you can buy a Lodge Dutch oven which will cook just as beautifully but will require a little more care. And for all of you people who tend to be anemic, which is often a problem with vegetarians, cooking in cast iron is an easy solution as a little bit of the iron from the pan goes into the food providing you with your necessary iron.
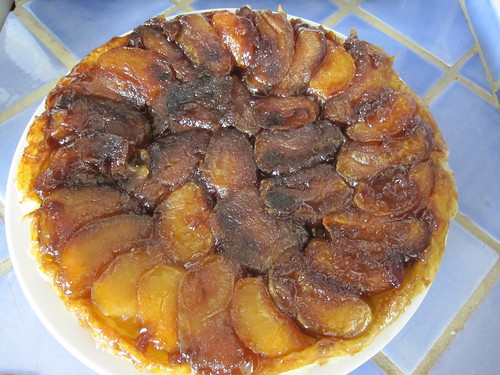
Besides frying, stewing or braising, you can use your cast iron pan to make a variety of stove to oven dishes. Alyssa roasts her veggies in hers, first putting it under the broiler to get hot, tossing her veggies in oil and seasoning, and then adding them to the heated pan, leaving them under the broiler for another 5 to 10 minutes. This way, the veggies caramelize on top and bottom. David made a tarte tatin (French apple tart) the other night in his skillet and with all of the gorgeous new crop apples in the stores right now, I had to try it. I think this will be my new dessert for the holidays!!
Tarte Tatin
(French upside down caramelized apple tart)
1 stick salted butter
1 cup sugar (I used raw turbinado but white is traditional)
1 round frozen puff pastry (or a butter crust of your choice, either bought or home made)
1 cup sugar (I used raw turbinado but white is traditional)
1 round frozen puff pastry (or a butter crust of your choice, either bought or home made)
1. Defrost 1 round of puff pastry.
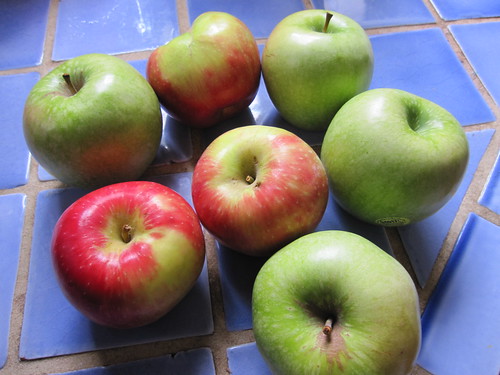
2. Peel, core, and quarter 7 apples.
2. Peel, core, and quarter 7 apples.
3. Melt one stick of butter in a 10 or 12 inch cast iron pan...
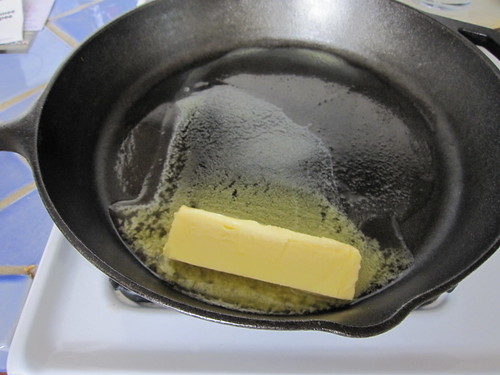
...Add the sugar and stir until thick. 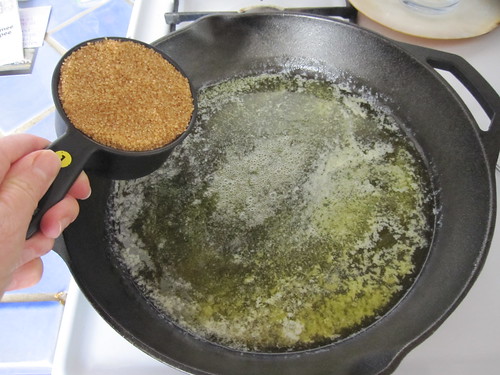
Turn off the heat and place apple quarters decoratively around the outside edge of the pan and then fill in more in the middle
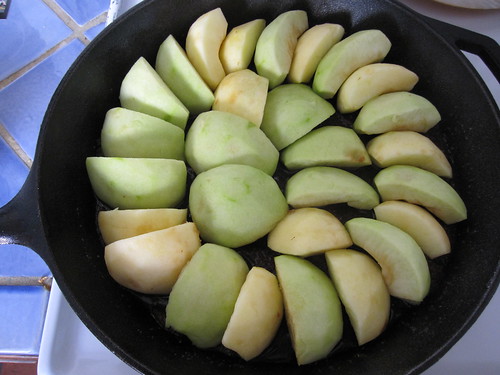
...If you have some extra room, you can add another apple or part of one.
4. Turn stove to MEDIUM HIGH and cook for about 15 minutes, or until the butter and sugar has turned to caramel. It is important to have the heat high enough so the apples don’t break down before the butter and sugar caramelize.
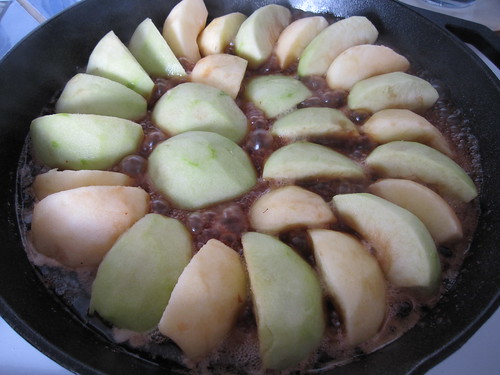
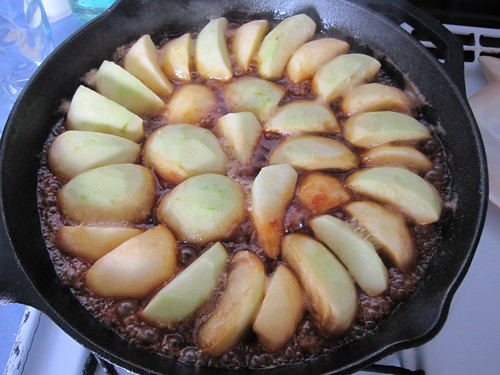
6. When caramel is nice and brown (15-18 minutes), turn off flame and lay puff pastry or crust on top, folding in the edges...
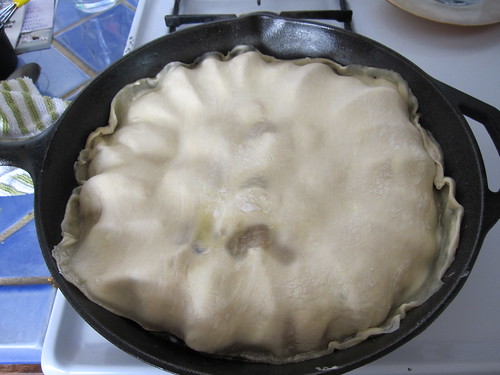
...Put in oven on a cookie sheet and bake for 20-30 minutes or until golden brown and puffy.
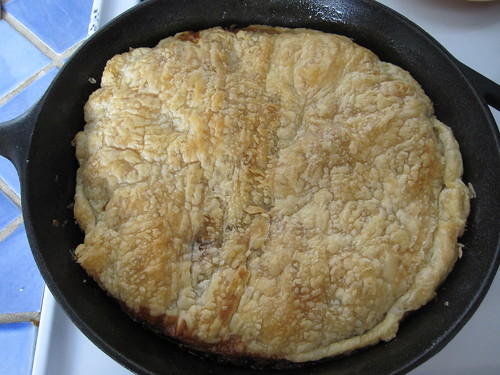
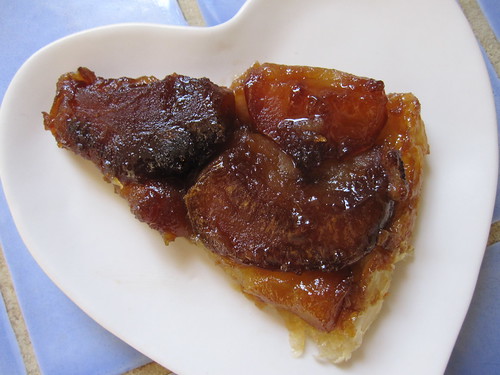
***
Frittata
(mushroom, onion, pepper, and artichoke)
8 oz sliced mushrooms
1 onion, thinly sliced
1 roasted pepper, sliced
1 package roasted artichokes or 1 can artichoke hearts, quartered
fresh herbs of your choice
8 eggs
½ cup milk
4 oz goat cheese
salt and pepper (lots of it) to taste
1. Brown mushrooms in 10 or 12 inch cast iron skillet. Add onions and peppers and artichokes and cook until onions are soft.
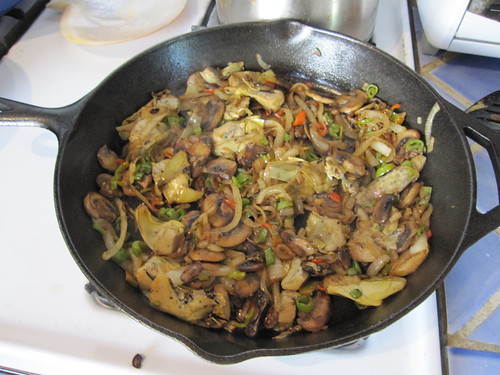
3. Put under the broiler for 3 minutes or until brown and just set. Do not over cook. Cut into wedges and serve hot or room temperature.
***
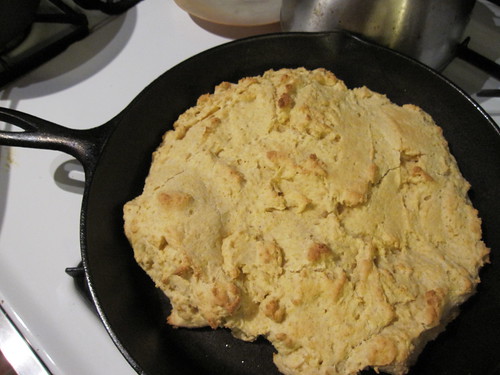
And as for the cornbread, just use your favorite cornbread recipe, heat the skillet in the oven with a tablespoon of butter until it is sizzling, and add the batter to the hot skillet. Cook as directed in your recipe and enjoy!
***
Love from Babyland,
WWW