
The following post was written by my mom, WWW. Thanks, mom!
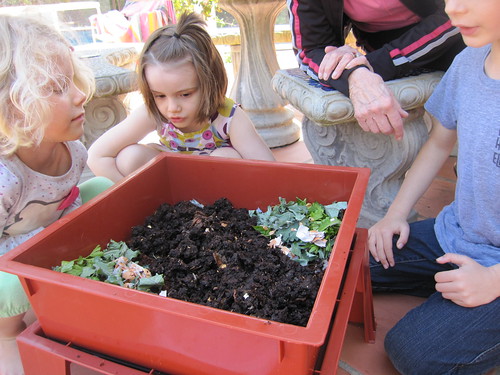
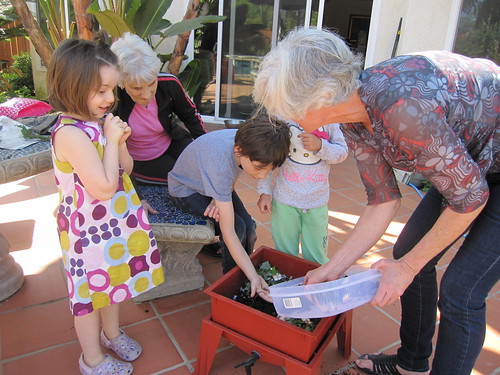
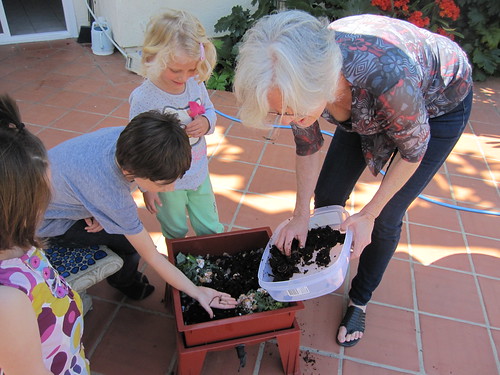
For years I was intimidated by the idea of composting. I hated throwing our table scraps into the sink, only to be ground up by the garbage disposer and washed down the pipes—what a waste—but the whole composting world seemed overwhelming. So many RULES! What if the balance gets off? Where would I even put the compost heap and how would I keep out the vermin? When we converted our back-yard lawn into raised boxes for my garden 4 years ago, it seemed like the time to roll up my sleeves and figure out how to compost—which is what I did. I am now an enthusiastic member of the composting fan club—so much so, that over Easter I finally dusted off the Worm Factory I bought years ago at the county fair and, with Archer’s and Fable’s help, began worm composting, too. I LOVE my worms and so do the kids, especially Fable. It turns out her preschool just started a worm farm, too. Last time I was in LA, she told me all about her worms and asked how mine were doing. Sunday when everyone was here, Fable couldn’t wait to see mine. She even petted a couple of them!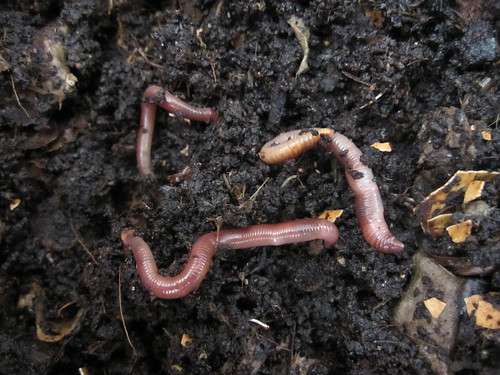
First a little background. Composting requires nitrogen rich materials (green), carbon rich materials (brown), air, and water. Green materials are fruits and vegetables, coffee grounds, grass, manure, and green plants. Brown materials are dried leaves, shredded cardboard, newspaper, hay, sawdust pellets, and egg shells. If you want to make good compost quickly, it is important to balance the brown and the green. Once the right balance is reached, microorganisms will start digesting the compost, forming heat as a bi-product. Balancing everything can be tricky and a compost pile needs a lot of space. (Go here and here if you want more detailed information on the minute details of conventional composting or you can also look for composting classes in your town.) BUT…if you want to compost easily, there’s another solution.
The best way to compost in urban or suburban neighborhoods is to buy a composting bin, and my favorite type is a tumbler. The advantage to this type of composter is that it is fast, easy to aerate, and enclosed, so pests cannot get inside. Because it is a closed system, you don’t have to add extra water, either. I like the two-chambered tumblers because once one side is full, you can start composting on the other side while the first side “cooks” so you are continuously composting. The disadvantages to the tumbler composters are that they are too small to put all of your garden waste in, you have to cut up the debris into somewhat small pieces and, from my experience, it’s a little trickier keeping the moisture balanced in them.
When I researched composters four years ago, I came across the Jora, which is used all over Sweden, even in apartment complexes. It has two chambers, is insulated and, therefore, heats up even in the middle of winter, which is wonderful if you live in a cold climate. I bought one of these guys and it has served me well. It’s easy to use and large enough for lots of garden waste as well as kitchen scraps.
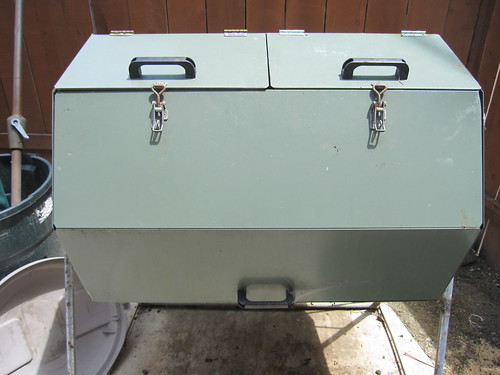
We don’t have a lot of “brown” garden waste where I live –no deciduous trees—so I use pressed pine pellets (cat or rabbit litter) as my carbon source for my Jora tumbler. They work well if you sprinkle them lightly on top, letting them absorb the water before turning the composter. Otherwise they can cause clumping. You can also use shredded newspaper and cardboard. My compost isn’t perfect…it is often a little too wet or a little too dry…but what I have discovered is that it still helps me grow beautiful vegetables.
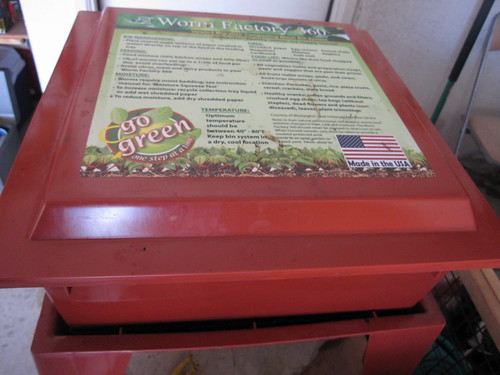
As for worm composting (vermicomposting), you can buy a Worm Factory here and the worms at your local nursery (look to your recycling center in your area for subsidized worm farms, too.) The Worm Factory comes with great directions and even a DVD.

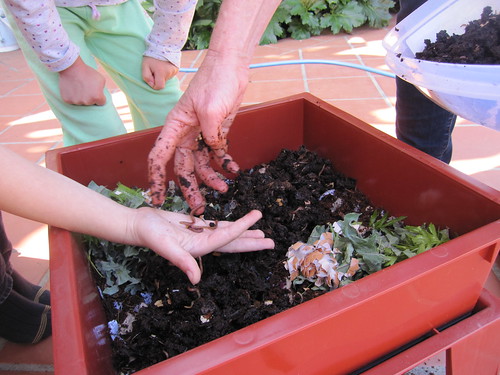
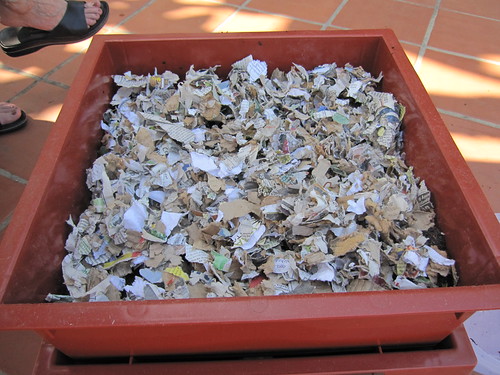
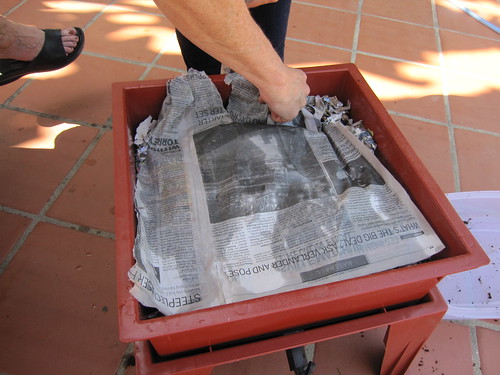
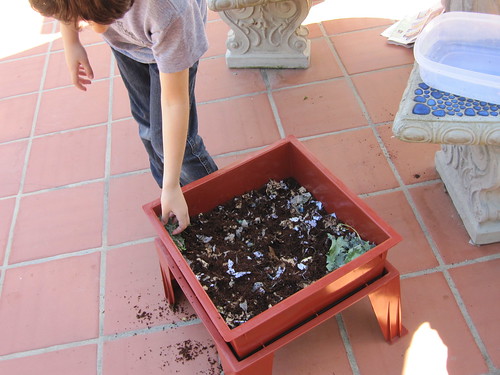
Vermicomposting won’t give you as much compost as conventional composting, but it is the most nutrient rich of all compost so you can use it as an organic fertilizer. And it doesn’t smell at all so you can even keep it in the house. The worms are really efficient at cranking out sweet smelling soil. They need a balance of brown and green food just as do the microorganisms in conventional composting. You can use egg cartons, cardboard, and newspaper as your brown food and kitchen scraps as your green. Go here to find everything you ever wanted to know about vermicomposting, even how to make your own worm bins if you don’t want to buy a worm factory. I cannot emphasize enough how fun this is to do with kids and it’s so easy that they can be involved in all aspects of it.
***
Several years ago I mentioned making soup with these scraps. You can make your own very cheap vegetable broth with all of the leftover veggies you have in the refrigerator. I call it “compost soup.” You can use carrot tops, the tops of leaks, beet greens, kale stems, parsley stems and leaves, left over bits of onion, carrots, carrot peelings, celery leaves, and any other leftover veggies, even lettuce! I save all of these vegetables in my refrigerator and when I have enough, throw them in a pot with some herbs and some peppercorns, cover with water, and cook for about an hour at a simmer. Strain off all of the solids, cool, and freeze them in packets and use whenever a recipe calls for vegetable broth.Juicing is another way to utilize vegetable odds and ends. An added dividend….the fiber waste from the juice makes awesome worm food!
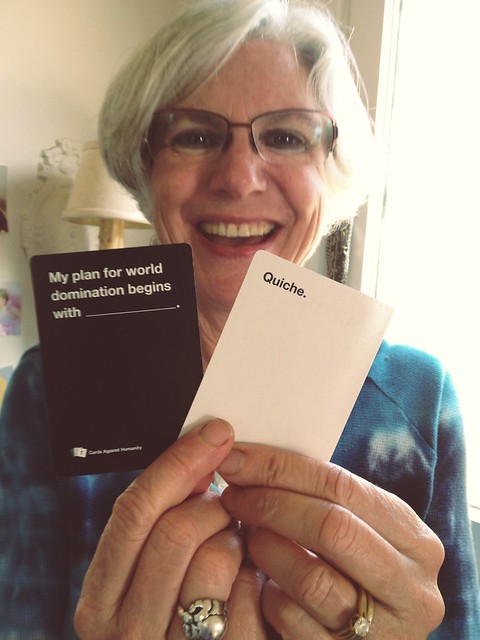
I often make “compost quiche,” sautéing whatever veggies I happen to have in my refrigerator for the base. (This is how I discovered our favorite leek and kale combo!)
That ends my Adventures in Composting. I’d love to hear about your composting experiences!
Love,
WWW

0 comments:
Post a Comment