
The following post was written by my mom, WWW. Thanks, mom!
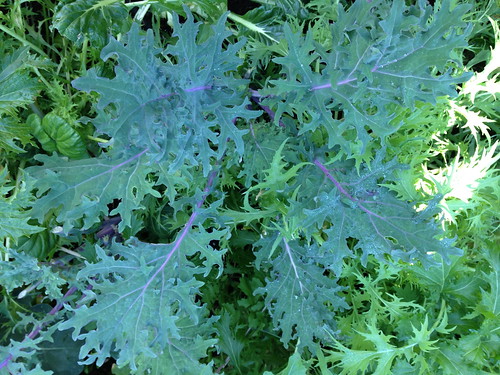 kale
kale
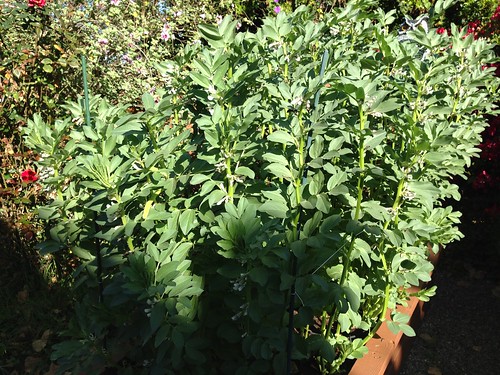 fava beans
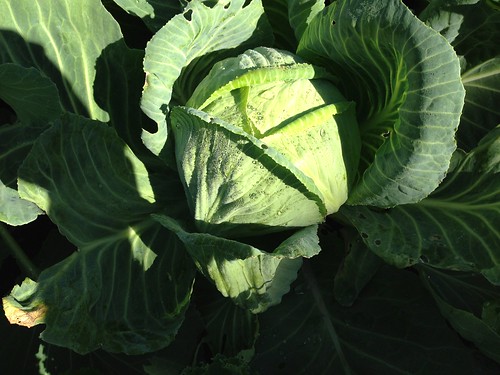 cabbage
A couple of weeks ago, I asked you if there was anything
special you would like me to discuss in my food posts. I really appreciate the feedback and am
excited to address the subjects you suggested. This week I am going to talk about what’s in my garden, as I had several
requests for this. In San Diego, we are now harvesting our winter crops, which
we planted in early fall (spring crops for most of the Northern Hemisphere). I
am well aware that the vast majority of you are presently shrouded in snow/cold
weather/crazy polar vortexes, but bad weather provides a perfect time to plan
your spring and summer gardens.
kale
fava beans
cabbage
When Rebecca was a baby and we lived in New Jersey, February
was the time this California girl started chomping at the bit to garden again
so I would order my seeds, plan my garden, and even start some seeds
indoors. The end of February to early
March is the perfect time to plant seeds indoors for transplanting later in
your garden (when all signs of frost have passed). It’s fun to team with your friends or
neighbors on this one….even have a garden planting party….since one packet of
seeds gives you way more seeds than most backyard gardens can accommodate.
Check out the Farmer’s Almanac for great tips on starting seeds indoors. (For those of us living in warm
climates, this isn’t necessary.) And
here is a great guide for when to plant your seeds indoors according to what area you live in.
Right now I have the following cool season crops growing in
my raised beds: several types of greens (mizuna, tatsoi, kale, arugula,
spinach, and Swiss chard), broccoli, cabbage, onions, beets, sugar snap peas,
parsley and fava beans. One of my raised beds is in complete shade all winter
long (my garden is on the north side of our house), and I usually fill it with
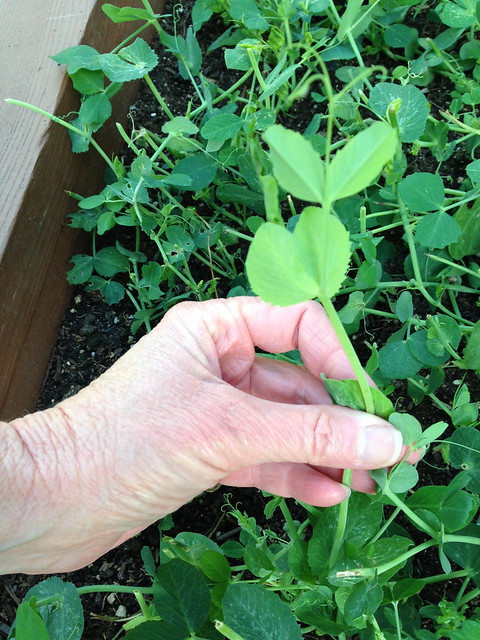
cinerarias, a beautiful flowering plant, which takes full shade. But this year I decided on a lark to plant my
leftover pea seeds in this bed to harvest for the pea greens only. Since I
harvest the new shoots when they are a few inches high, having the bed in full shade
doesn’t matter (you need sun to get a good crop of pea pods but not for
harvesting the greens). This bed has been a huge success and I am going to make
pea greens a regular crop in my winter garden.
For those of you who don’t have a long enough cool season to
have a bountiful pea harvest, try planting a bed of peas just for the greens. You
can space them very close together (I planted them an inch or two apart). When planted in the ground, they will keep on
putting out fresh green leaves after being cut until it gets really hot. You can
grow them in pots on a shaded patio or even in flat boxes, although this method
gives you one harvest per box. Pea greens are nutritional powerhouses. They have a huge amount of vitamins A and C, as well as folic acid. I
have mentioned here and here how delicious they are, but they can be hard to find unless you have a
particularly awesome farmer’s market.
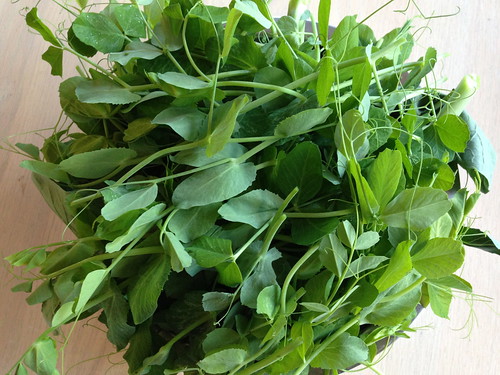
Even still, the market pea tendrils vary in quality and can be woody and
tough. By growing my own, I can harvest
them over and over again when they are still young and tender, which only
encourages the peas to make more shoots. And, because legumes are nitrogen fixing, the peas serve as a cover
crop, helping build my soil. Of course I
still have my two rows of sugar snap peas, which give me delicious peas for
several months, but I also have this wonderful bed of pea greens for use in
salads, pasta dishes, pesto, or stir fries.
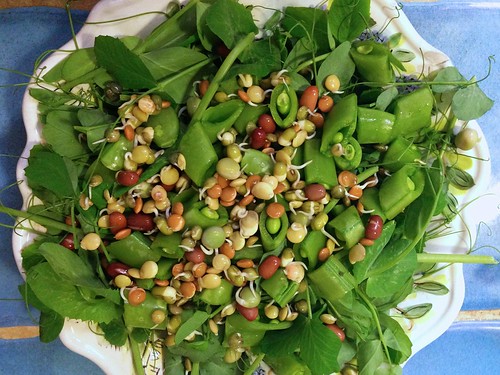
These tender tendrils, either by themselves or mixed with
other garden greens, are the base of our nightly salads. I like to top them with my home-sprouted
lentils and chopped sugar snap peas or other vegetables, the more variety the
better.
Here is our fiddlehead fern/pea tendril recipe from last
year at The Cape. You can make this without the fiddlehead
ferns. Or…make this simple pasta dish
with pea tendrils.
Pasta and Pea Tendrils
(2 servings)
4 garlic cloves, smashed and chopped
¼ cup olive oil
½ teaspoon red pepper flakes
1 big bunch pea tendrils
salt and pepper to taste
your favorite pasta
Heat oil on medium heat. Add garlic and pepper flakes and stir constantly for about one minute,
or until aromatic. Add pea tendrils and
stir until wilted. Salt and pepper to
taste. Toss with cooked pasta. Grate fresh Parmesan cheese on top, if
desired.
Enjoy!!
Love,
WWW

0 comments:
Post a Comment