
I digress. Behold, a repost of my bang tutorial from two years ago. With updates for those looking to tips on trimming their kids' hair. Specifically bangs for girl children.
1. Straighten and Dry
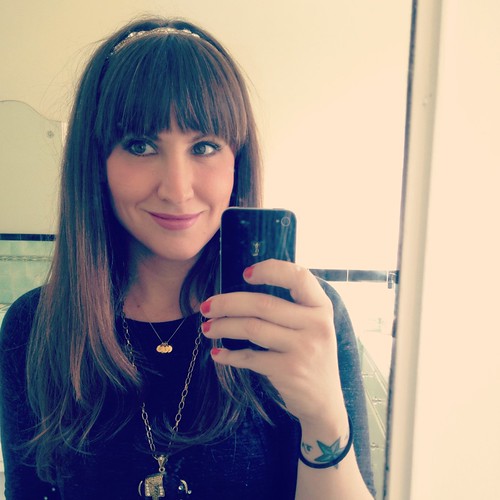
Make sure your bangs are dry (the worst thing you can do for a bang trim is cut wet hair. Your bangs will end up FAR shorter than anticipated and you will be disappointed and probably sad. You'll also want to straighten your bangs with a flat iron so that they hang over your eyes like so:

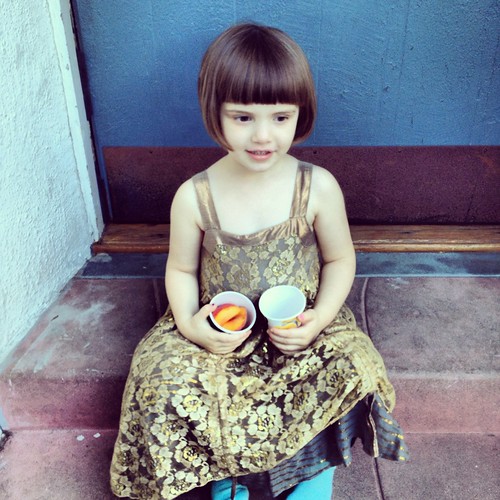
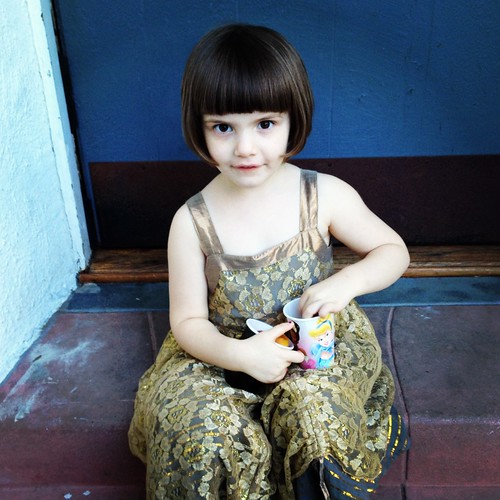
UPDATED FOR CHILD: I have no experience cutting a curly-haired child's hair. Yet. Fable's is so straight it shows EVERY cut so I cut her bangs slowly and one section at a time, starting from the middle and working my way out to either side. I make sure her hair is parted properly before I cut but other than that, no need for straightening. Her bangs are a lot shorter than mine - more practical and far more suiting.

Divide the center part of your bangs with two fingers, leaving the sides alone (for now):

Pull bangs down as hard as you can, pull up slightly and with a steady hand, snip straight across at the bridge of your nose. (If your bangs aren't long enough to pull over the bridge of your nose then your bangs probably don't need a trim. Not yet, anyway.)
 Once you've snipped the excess, carefully trim the straggler-hairs, but ONLY in the middle. Keep the sides of your bangs alone. For now.
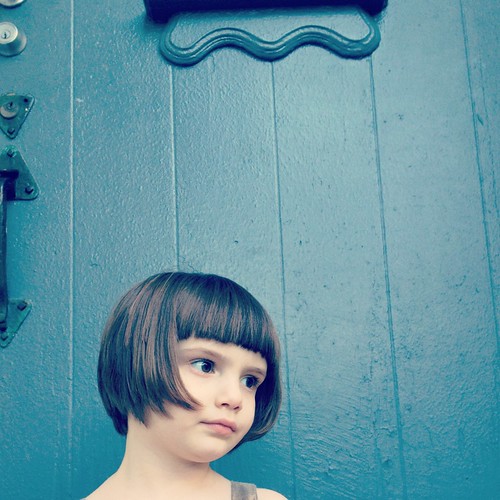
UPDATED FOR CHILD: I trim Fable's bangs straight across, all the way to the end of her eyebrows.

3. Shape your Sides!
Once you have your length established, trimming the sides is actually quite easy.

 using brows as a map
...Same goes for the other side. Feel free to trim any errant hairs and GO SLOW. Very slow... until you're satisfied with a (somewhat!?) symmetric, curved-at-the-eyebrows bang.
(Ed: your bangs may be of the straight-across variety. If that's so, just follow the length you have established all the way to the end tiny piece by tiny piece to be sure you're staying level.)
UPDATED FOR CHILD: Once Fable's bangs are finished, I cut the rest of her hair, piece by piece, starting with the front sides and working my way to the back of her head. I trim by pulling her hair up and cutting at an angle and then working with the length I've established to trim length and layer on the back and sides.
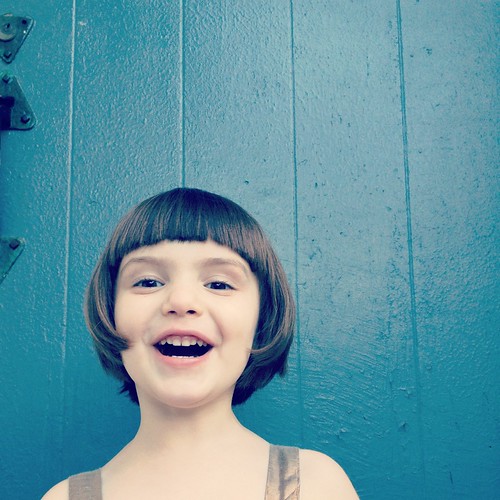
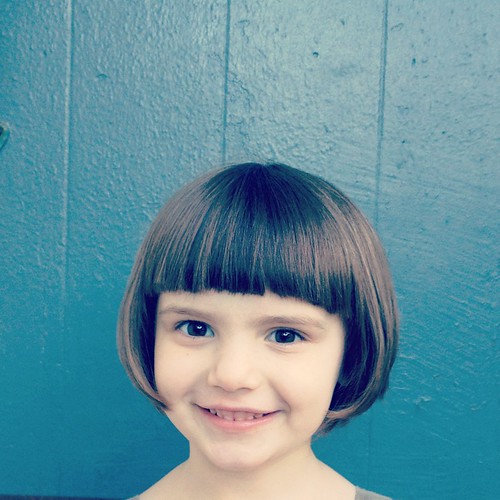
4. Smile!

Congratulations! You can see again! Go look at pretty things and have wondrous adventures!

ED: And If you should completely botch your/your child's hair, FRET NOT! Bad haircuts are not only rites of passage but can be easily remedied at a salon near you.
Happy trimming!
Got curly hair? Check out this awesome tutorial c/o my amazing sister, Rachel.

0 comments:
Post a Comment