
The following post was written by my mom, WWW. Thanks, Mom!
A couple of weeks ago, after our amazing afternoon watching
Archer’s play, Larry, my mom and I stopped at an Ethiopian restaurant on our way home. (We had found this
restaurant several years ago and ate there with a big group after Rachel performed with Darren Criss.) Larry and I love Ethiopian food and
my mom had never eaten it before so it was exciting to introduce her to such incredible cuisine. (She loved it.)
For those who aren't familiar with it, Injera, a flat spongy sourdough “bread,” is the staple of Ethiopian food. All sorts of amazing delicacies made from beans and vegetables (and meat) are served on a huge round of injera. Instead of forks, each person uses a torn-off piece of the flatbread to scoop up dabs of the different foods. As we were munching away, my mom asked what injera was made from. I couldn’t remember, so I looked it up on my phone and found that it is made from teff flour. We learned that teff, one of the first grains to be domesticated by humans, is a very small grain that comes from a grass grown on the highlands of Ethiopia and Eritria. It is very nutritious as it contains high levels of calcium, iron, important minerals, and protein (8 amino acids including lysine). It is also high in fiber and is gluten free. After reading all about it, I was excited to experiment with teff at home. Then last week, as I was getting my supplies for baking cookies for David’s wedding, I noticed a “New Product” tag on a row of Bob’s Red Mill teff flour. I took it as a sign that it was time to try it out.
For those who aren't familiar with it, Injera, a flat spongy sourdough “bread,” is the staple of Ethiopian food. All sorts of amazing delicacies made from beans and vegetables (and meat) are served on a huge round of injera. Instead of forks, each person uses a torn-off piece of the flatbread to scoop up dabs of the different foods. As we were munching away, my mom asked what injera was made from. I couldn’t remember, so I looked it up on my phone and found that it is made from teff flour. We learned that teff, one of the first grains to be domesticated by humans, is a very small grain that comes from a grass grown on the highlands of Ethiopia and Eritria. It is very nutritious as it contains high levels of calcium, iron, important minerals, and protein (8 amino acids including lysine). It is also high in fiber and is gluten free. After reading all about it, I was excited to experiment with teff at home. Then last week, as I was getting my supplies for baking cookies for David’s wedding, I noticed a “New Product” tag on a row of Bob’s Red Mill teff flour. I took it as a sign that it was time to try it out.
Since I am in wedding-cookie-baking mode, the recipe for
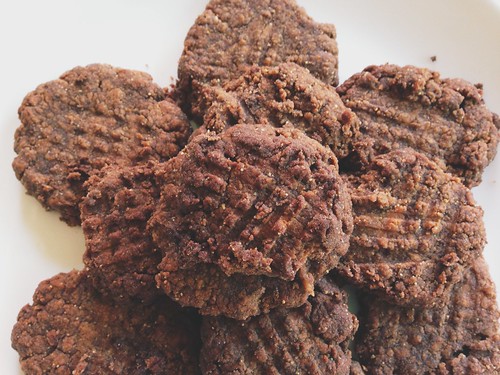
teff peanut butter cookies on the back of the package caught my eye. I loved the fact that it has so few
ingredients, is sweetened with maple syrup (apropos for a Vermont wedding), and
is vegan, so I immediately made the cookies. Unfortunately, there is nothing really in them to hold them together…no
eggs, no gluten…so they won’t travel well for the wedding. Their texture,
taste, and consistency are completely different from regular peanut butter
cookies, so at first I wasn’t sure about them. They are very crunchy and crumbly, and have to be eaten carefully. But I quickly became addicted…so much so that
I practically ate the whole batch myself!
(I convinced myself that this wasn’t all that bad since they are really
nutritious.) There must be something very special in teff that triggered this
reaction in me because although I do love homemade cookies, I usually have very
good self-control when it comes to eating them.
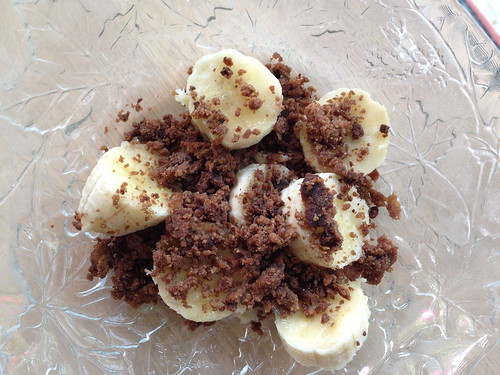
With these, however, I convinced myself I could even eat them for
breakfast! I am a peanut butter and
banana fan from way back, so I crumbled them on top of a banana for a yummy
snack, too.
I made them with coconut oil instead of Canola oil. I loved
the addition of the coconut flavor, but if you don’t like coconut, you could
use any oil or refined coconut oil (which takes out the flavor).
I am so excited to continue experimenting with teff. There
is also a muffin recipe on the back of the package and I would love to make a
crust with it, too. And of course I have
to try making injera. Bob’s Red Mill suggests substituting ¼ cup teff flour per
cup of wheat flour in any recipe to add flavor and nutrition. It’s going to be fun to playing around with
it and I will keep you posted as I learn more about this wonderful and
nutritious flour!
1 ½ cups Bob’s Red Mill Teff Flour
½ tsp. sea salt
½ cup maple syrup (the real stuff)
½ cup canola oil (I used melted coconut oil)
1 tsp. vanilla
1 cup smooth peanut butter
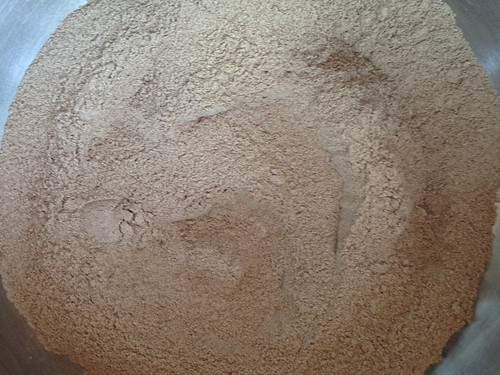
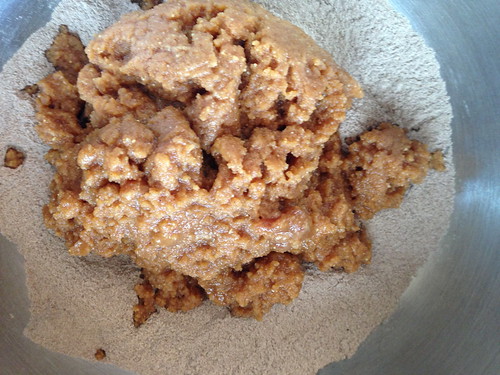
Preheat oven to 350˚. Grease two cookie sheets. In a
large bowl, combine dry ingredients and set aside.
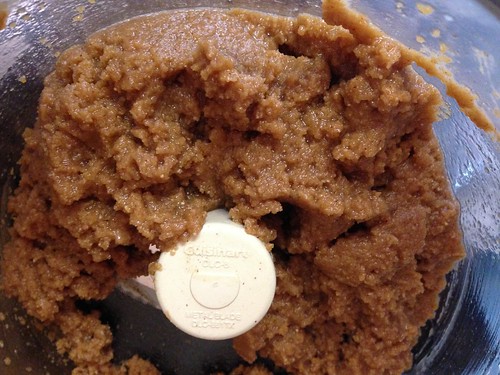
 In a food processor, blend syrup, oil,
vanilla, and peanut butter. Add the wet ingredients
to the dry ingredients and blend well.
In a food processor, blend syrup, oil,
vanilla, and peanut butter. Add the wet ingredients
to the dry ingredients and blend well.
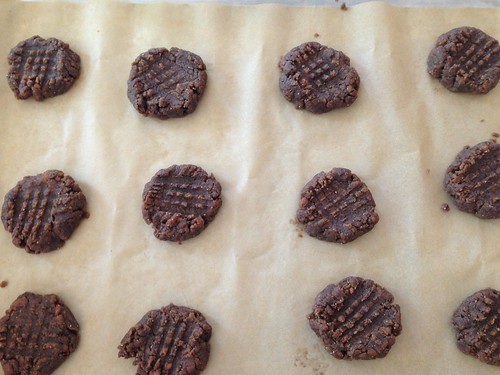
 Shape dough into walnut sized balls. Place the balls on the cookie sheets and flatten gently with the bottom
of glass first and then with a fork if you want the traditional peanut butter
cookie crosshatch marks.
Shape dough into walnut sized balls. Place the balls on the cookie sheets and flatten gently with the bottom
of glass first and then with a fork if you want the traditional peanut butter
cookie crosshatch marks.
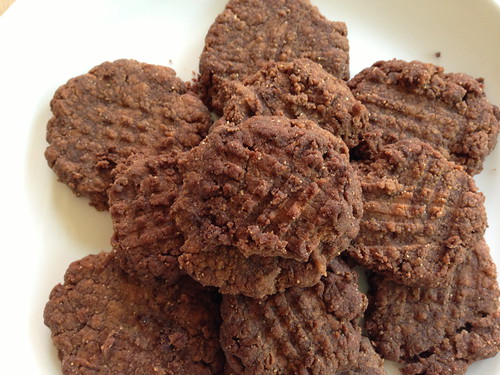
 Bake each sheet
separately for about 13-15 minutes. Let
cool on baking sheets for before transferring cookies to a wire rack as they
are very fragile. Makes about 2 dozen cookies.
Bake each sheet
separately for about 13-15 minutes. Let
cool on baking sheets for before transferring cookies to a wire rack as they
are very fragile. Makes about 2 dozen cookies.
Enjoy!
Love,
WWW

0 comments:
Post a Comment